This page documents the procedure that I performed to mate an OSCAR Controls optic board with a USB SlikStik Tornado spinner in order connect it to an Ultimarc Opti-PAC.
WARNING: These modifications are not endorsed, encouraged, or authorized by SlikStik. Modifying your Tornado will will most likely void any warranty you have on it. Do not attempt if you are not skilled with a Dremel Rotary tool. You are performing these modifications at your own risk and I will not be held responsible if you damage your Tornado, Opti-PAC, yourself, your computer, or anything else that comes in contact with the Tornado.
Links to products referenced on this page:
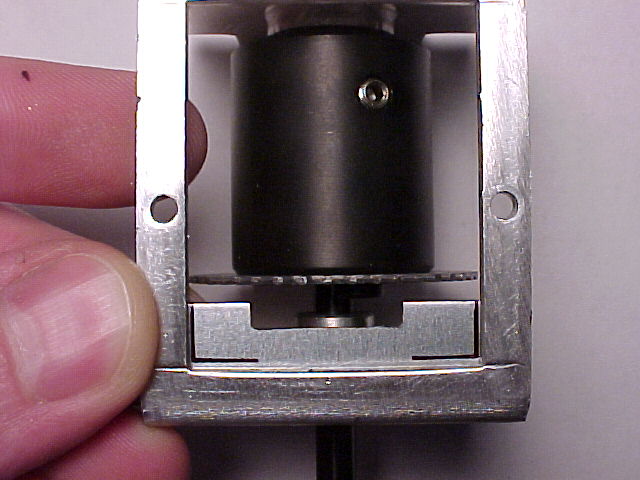
This is an unmodified Tornado spinner with the USB/PS2 cable detached.
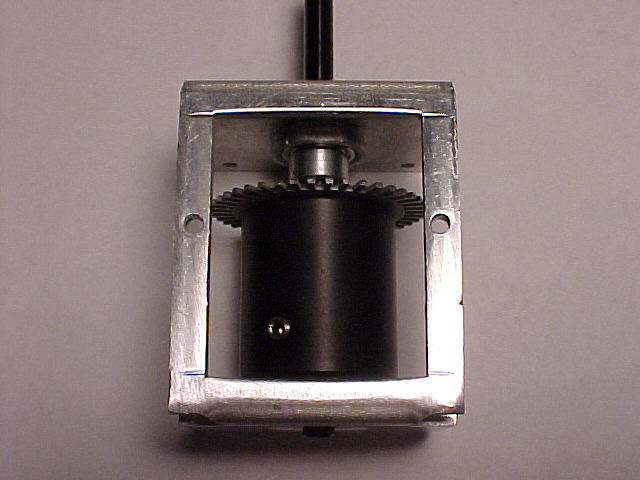
This is what it looks like with the optic board removed.

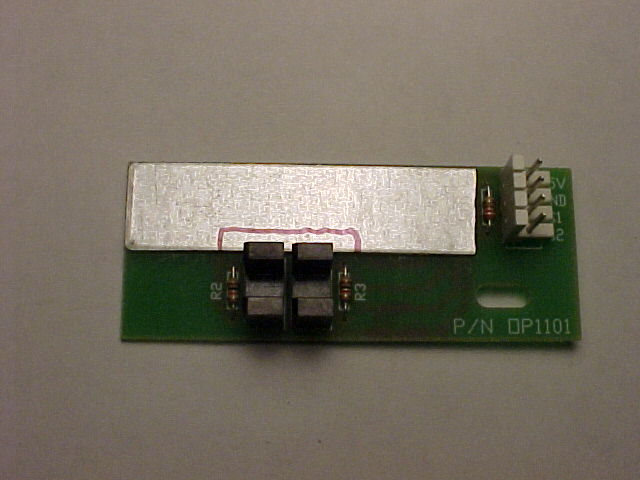
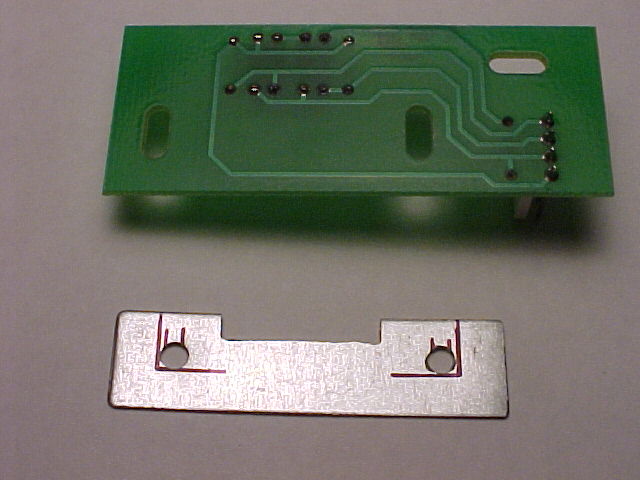
For comparison, this is the SlikStik optic board (top) next to an OSCAR Controls optic board (bottom). Notice that the mounting hole spacing isn't the same.
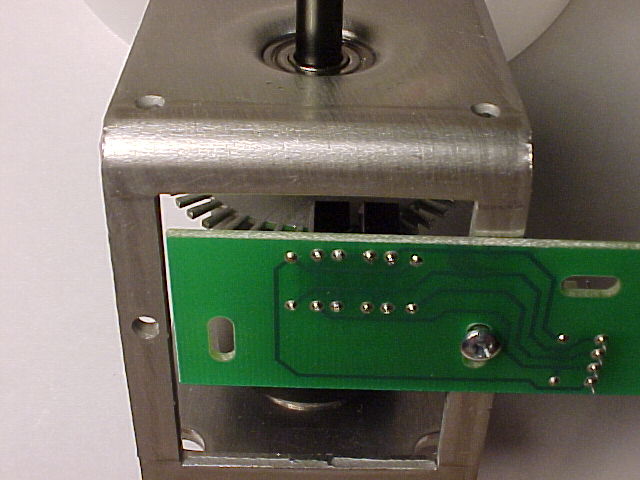
Some people mount the OSCAR board to the Tornado with one screw like this. It will probably work, but if you look carefully, you'll see that the sensors are off center on the toothed disc. Furthermore, I don't think one screw is really that stable and will be easily knocked out of alignment, possibly damaging your spinner or the optic board.
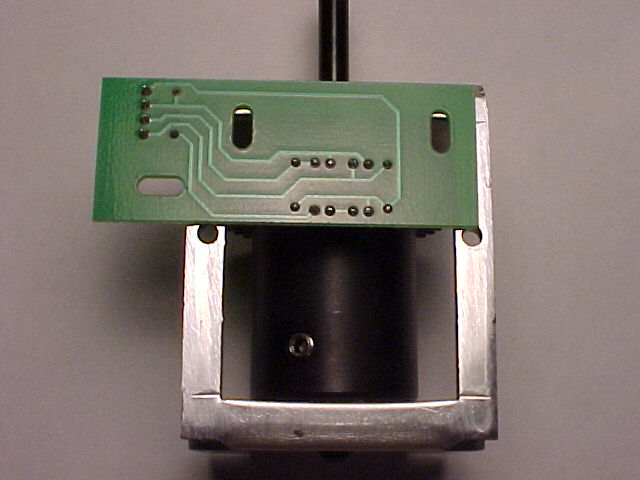
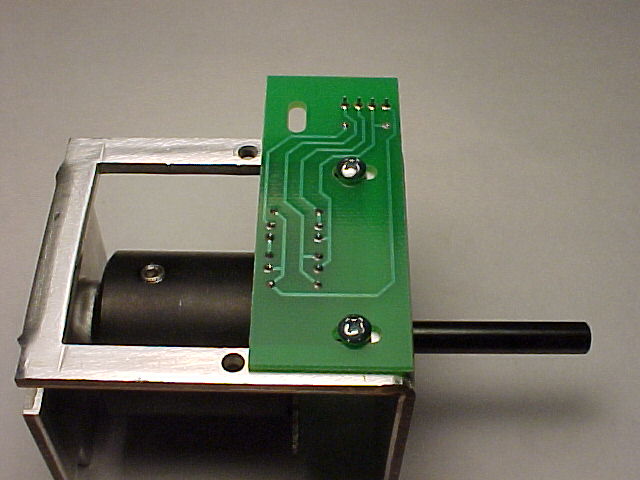
I think that it is better if the board is rotated 180 degrees and mounted near the top of the spinner like this. Since there are no mounting holes, this will require some creativity.
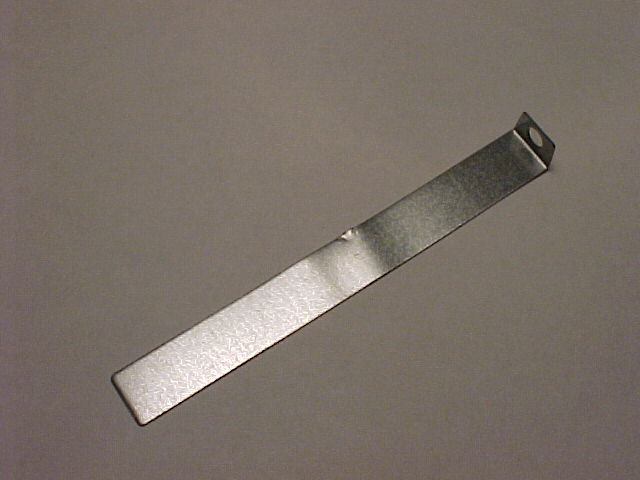
This is a metal slot knockout that you will typically find on really cheap computer cases, the kind that are too cheap to include real metal slot covers. These covers are typically removed by bending them back and forth until they detach.
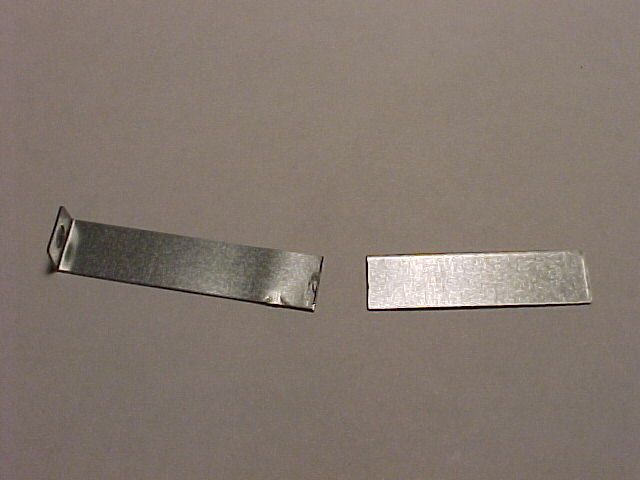
Using my Dremel cutoff wheel, I cut a piece of the knockout to approximately the same width as the Tornado.
Then I lined it up against the OSCAR optic board and marked a notch to go around the sensors.
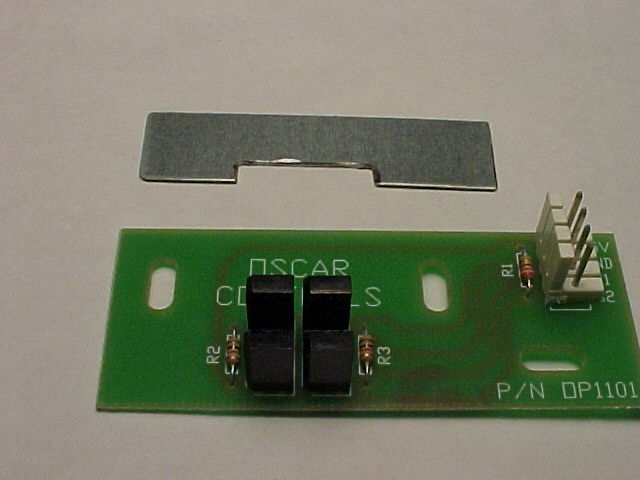
Here's the piece after I cut out the notch with my Dremel.
I held the piece inside the tornado frame and marked the corners.
I traced the mounting holes from the optic board on the piece, then center punched and drilled two 1/8 inch holes.
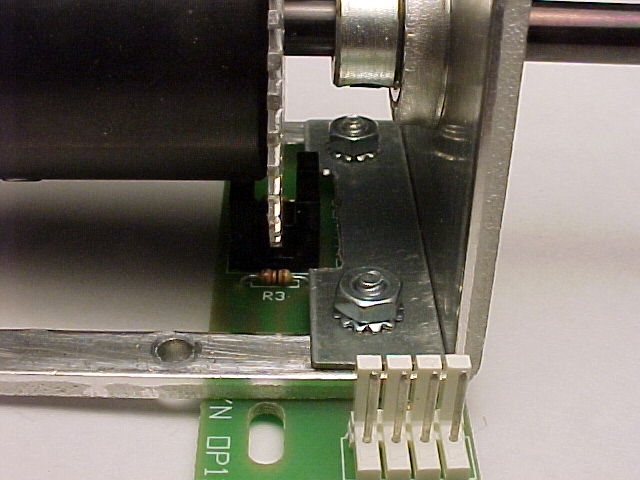
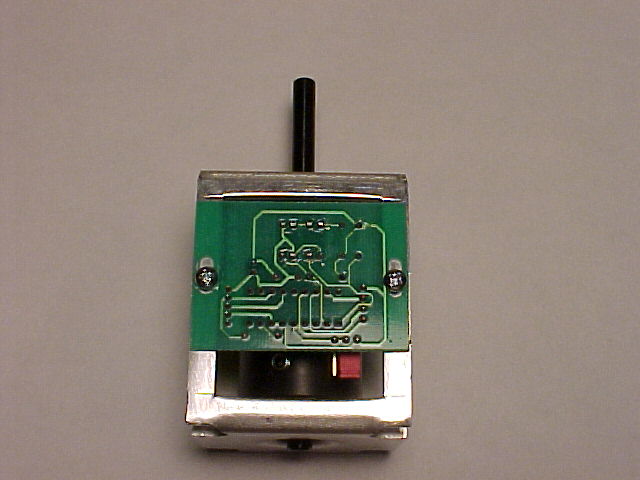
Here is is assembled using the original mounting screws.
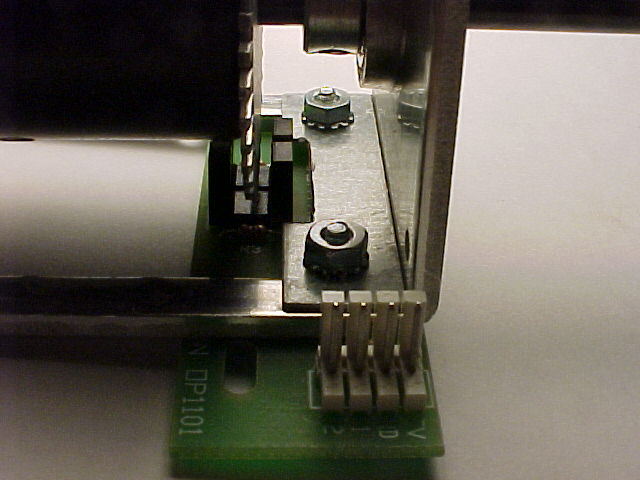
Here's another angle with different lighting.
This is what the outside looks like.
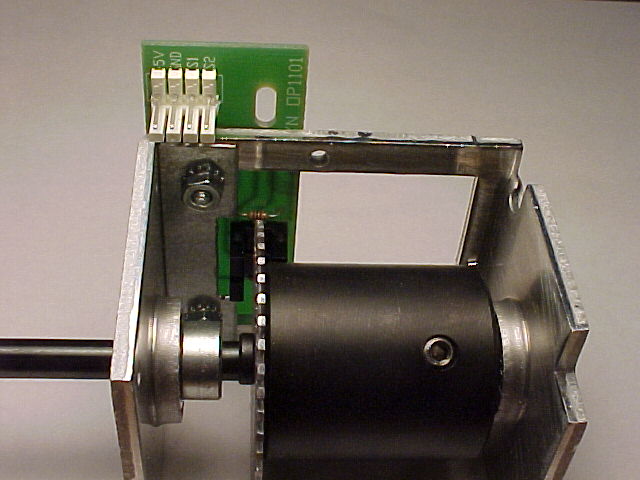
A final shot from the side.
Send your comments to: krick@3feetunder.com